
So the last month or so I’ve been working on replacing my aging FreeBSD 7.4 RELENG server, running the stable, but some what scary GEOM RAID5 hack (vintage 2008). The system was a total hack, running in an old mid-tower case with various external disk caddies. It worked, and worked well for many years, however it was slow, rebuilds took days, and I couldn’t get 1000 Mbps LAN connection working (long story).
So that all said, it was time to upgrade, however I had a few requirements for the new system:
- Cheap! I hate spending money on computer parts.
- Reliable
- High capacity
- Reasonable performance
- Easily repaired
- QUIET!
So I decided to reuse the existing disks in my current file server, and just move the arrays one at a time over, while transferring data. Anyways here’s my build list for my cheapo-but-great ZFS file server:
I started with a case, after reviewing a bunch of different options I decided on the super-cheap SuperMicro SC836 with standard SATA backplane: 
This case was a great solution. 16 bays (plus cdrom bay) dual hot-swappable 800 watt power supplies, lots of cooling and fits standard motherboards. The only problem with this case was that it’s noisy (with all those fans at full blast) and the power button / reset / LED’s weren’t on a standardized set of plugs for my non-supermicro motherboard. Building a custom wiring harness was extremely simple once I worked out the pin out of the front panel connector.
The noise problem was pretty easily solved by purchasing some 12 volt molex to 4 pin fan adapters, then moving the pins around so all the fans were powered on the 5 volt rails. This pretty much knocked all the fan noise down, though the power supplies still make a pretty good amount of noise (I didn’t want to mess with the cooling there because they’re pretty densely packed and thermal failure is a real possibility).
For the motherboard, I decided to go with an ASRock B75M R2.0(m)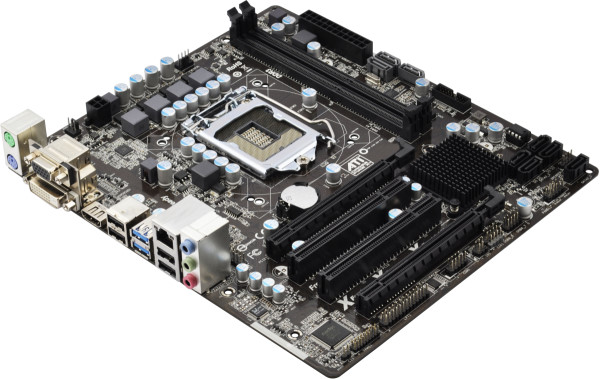
I went for this motherboard almost exclusively because it was the cheapest motherboard I could find which supported at least 2 PCI express 8x slots. This also came with on-board 1000 Mbps network, and on-board 6GB/s SATA.
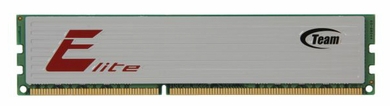
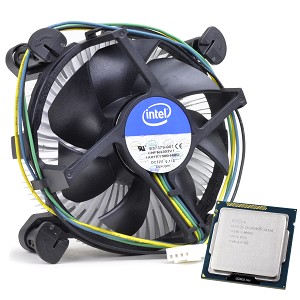
I loaded this board up with 2 sticks of TEAM (generic) 4GB DDR3 and an Intel Celeron G1610
For the disks I purchased a set of IBM m1015 which are basically re-badged LSI 9640-8i RAID controllers. I then hacked the firmware on them (described here) enabling simple HBA sata pass through to the disks.
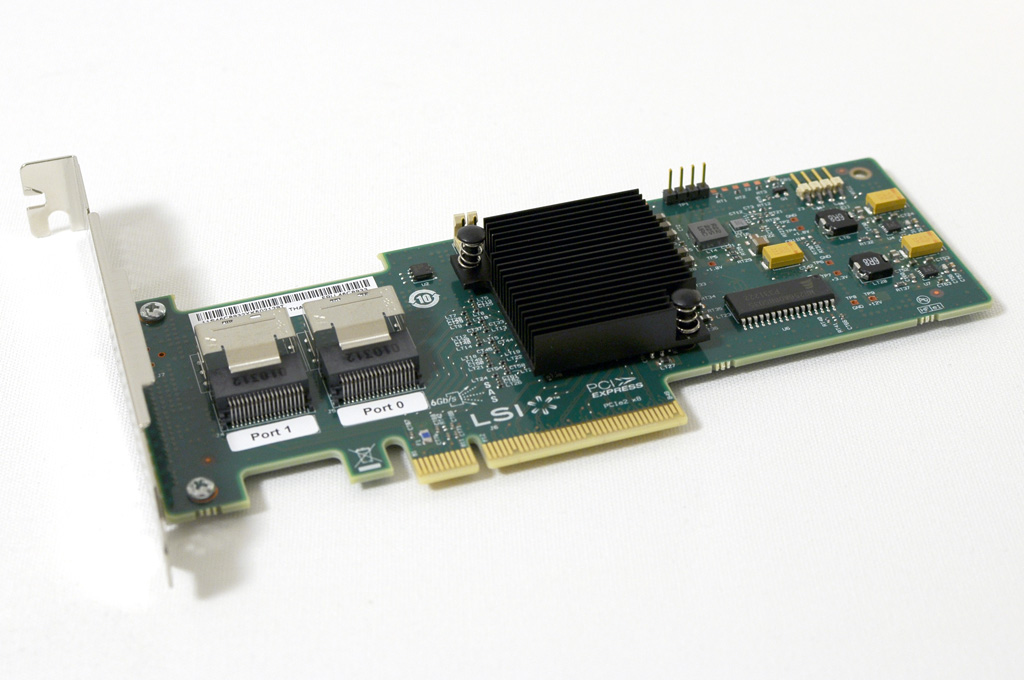
From the cards they connected directly to the SATA backplane with 4 SFF-8087 (Mini SAS) to SATA cables
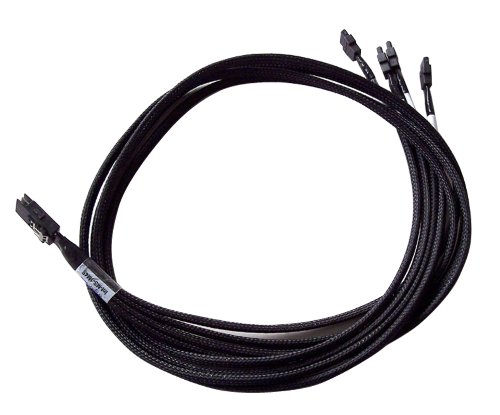
You’ll need to make sure you buy at least 1.5′ cables to reach from the tops of the cards and then nicely routed to the backplane.
The last thing I did was remove the CDROM (who uses CD’s anymore?) and replace it with a 2.5″ SATA SSD. I use this SSD as the primary system disk, leaving the rest of my front panel 3.5″ drive bays for bulk storage arrays only. To mount the SSD in this case you’ll need one of these:
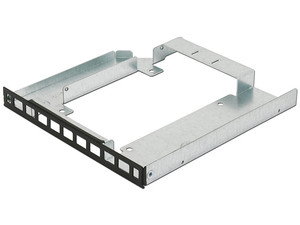
This is an MCP-290-00036-0B, Once you receive it, you pull the hardware off the CDROM, mount it here, and you’re good to go. The only thing I noticed was on the left side of the CDROM where it mounts the connector PCB, the PCB hangs down just a hair to engage a stopping block, with this kit it tends to want to continue to push back into the case past this point, the simple solution for me was to just screw a 10mm washer I had laying around on the mounting screw part of the CDROM mounting hardware (which I transfered over already). This solved the problem!.
Once the system was all put together I fired it up, a few quick changes to UEFI BIOS and I had the system booting Debian Linux (version 7). All of my drives were recognized right away and I was able to create my zpools without problems. The bonus was that all the LED’s on the front panel worked, and of course I could power it on, and reset it as needed.
I decided since I wasn’t planning on using the front panel LED’s for network indication or faults to just hook all the LED’s up directly to the m1015’s so everything (except power) flashes nicely.
Anyways, I hope that you found this useful if you’re planning on putting together a 16 drive file server and want to keep it cheap. Minus drive cost (which I purchased over the course of a few years) I think I have about $600 into this system.
I have two of the same SC836 chassis’. Have you considered replacing the PSU’s with a regular desktop PSU? I’m going to try it in a few weeks.
Hi,
I’ve not considered this, mostly because the power supplies are cheap and available on eBay.
-cf